
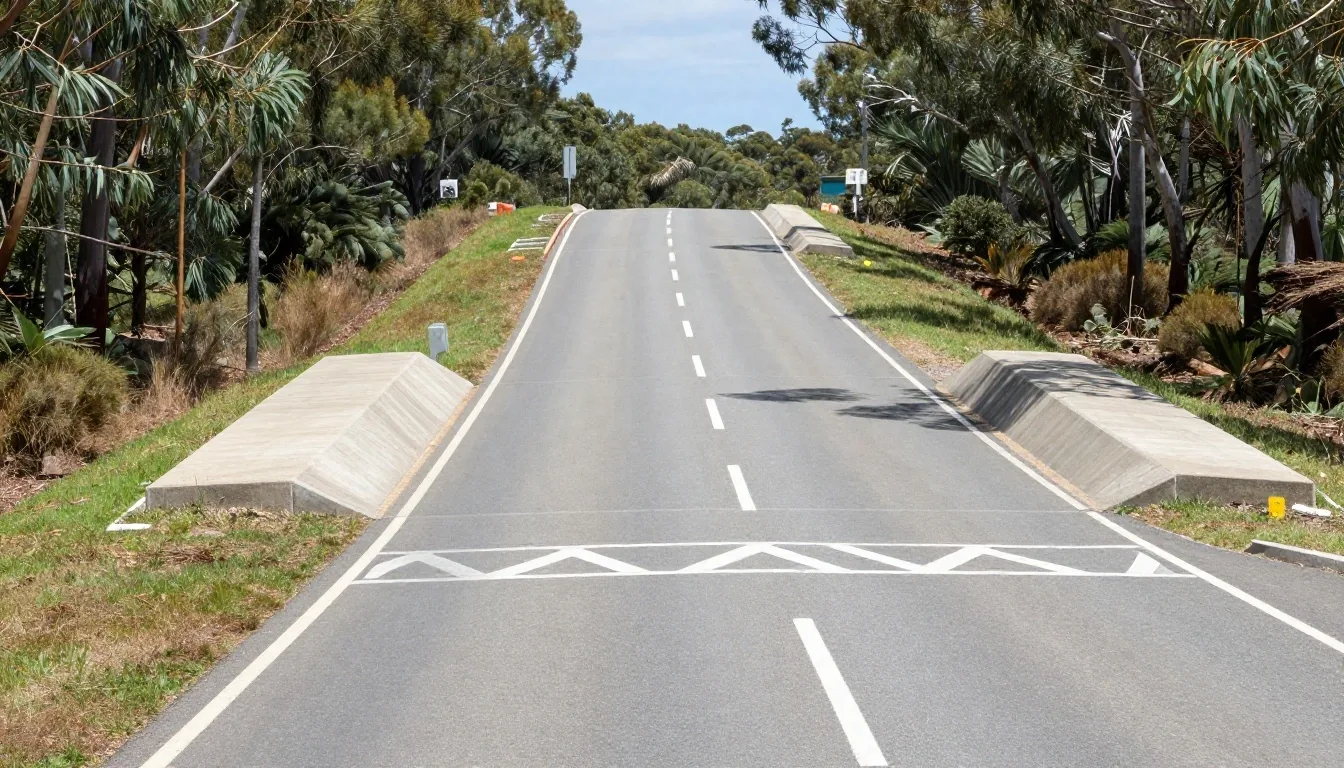
Navigate airport roads and terminal shuttle routes
Reaching your designated parking bay at Melbourne Airport without stress requires knowing which motorway exits and terminal approach lanes to take. Tullamarine Freeway (M2) handles the primary flow of airport traffic from central Melbourne, while the Western Ring Road (M80) connects travellers from eastern, western, and northern suburbs.
Direct access routes to Terminals 1–4, Value parking, and courtesy pick-up points
Approaching via the Tullamarine Freeway and CityLink
Most drivers travel to Tullamarine via CityLink and the Tullamarine Freeway (Route M2). As you head past the Essendon Airport exit and approach the airport precinct, road signs separate terminal traffic into distinct overhead lane gantries. Keep an eye on the overhead electronic signage: right lanes direct traffic toward Departures and Valet, while left lanes funnel vehicles toward Mercer Drive, Airport Drive, and Value Parking.
Positioning your vehicle early is essential as the motorway expands into six directional lanes near the Mickleham Road underpass. For terminal multi-deck facilities, maintain the central lanes until the road divides into the elevated Departure Drive viaduct and the ground-level Arrivals loop.
Dedicated lanes for elevated Departure Drive, T1–T3 Premium Valet, and upper passenger set-down forecourts.
Branches direct toward Mercer Drive, the Value Car Park entrance booms, and the Western Ring Road loop road.
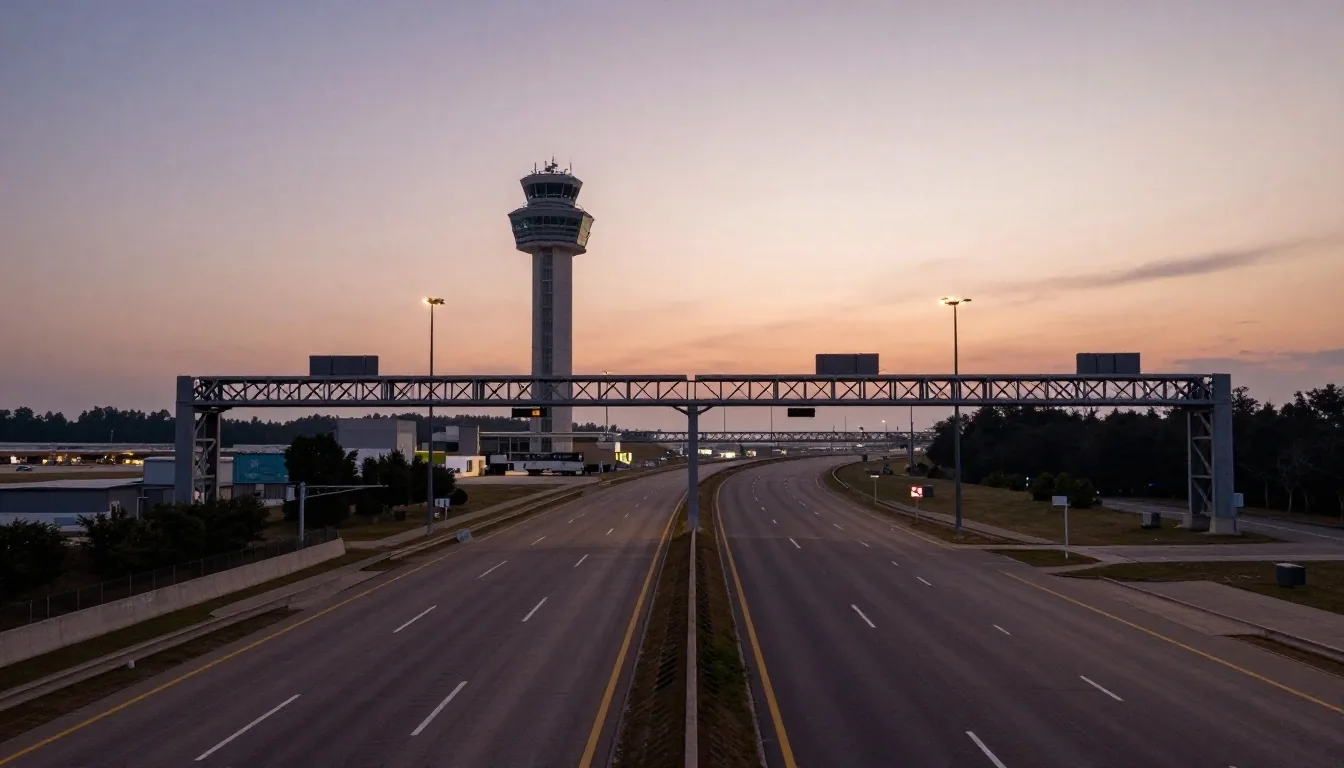
Peak morning congestion occurs between 06:30 and 09:00 southbound, with evening departure surges from 16:30 to 19:00.
Airport Drive alternative approach from the west
Travellers coming from Melbourne's western suburbs, Werribee, or Geelong can avoid freeway congestion by approaching via the Western Ring Road (M80) and exiting onto Airport Drive. Airport Drive brings you directly into the southern perimeter of the airport complex, offering immediate, uninterrupted access to Terminal 4 multi-deck parking and Mercer Drive without having to navigate the main terminal freeway junction.
Key Navigation Advantage:
Bypasses the merge conflicts where the M2 Tullamarine Freeway meets Mickleham Road, reducing approach times during peak holiday travel periods.
Mercer Drive entry for Value Car Park and wait zones
If you are booked into the Value Car Park or plan to wait in the free 30-minute passenger wait zone, take the Mercer Drive exit as you approach the airport boundary. The Mercer Drive thoroughfare branches off to the right from the main freeway run and bypasses terminal frontage traffic. Clear ground signage directs you directly through the Value Car Park entry booms and into designated parking aisles.
Entry Gate Procedure:
Automated license-plate recognition verifies your online reservation at the barrier. Do not pull a paper ticket if you prepaid online; the gate raises automatically.
Navigating the multi-deck terminal loop lanes
Drivers heading to Terminal 1, 2, or 3 multi-deck parking must remain in the middle lanes along Departure Drive. As you approach the front of the terminals, follow the elevated ramp marked for Multi-Deck Car Park rather than the ground-level passenger drop-off lane. Turning into the multi-deck entrance gives you multiple automated gate options where cameras read registered license plates instantly.
Drop-off and pick-up forecourt restrictions
The forecourt roadways directly outside Terminal 1, 2, and 3 are designated as active drop-off zones only. Local airport transport officers strictly enforce a zero-waiting policy. You cannot turn off your engine, leave your car unattended, or linger waiting for arriving passengers. Drivers who stop without passenger movement risk immediate infringement fines; use the short-stay multi-deck bays or the 30-minute free wait zone instead.
The 30-minute free outdoor wait zone
Located off Mercer Drive near the airport entrance, the outdoor wait zone gives drivers a convenient place to park for up to thirty minutes free of charge. You can turn off your car, check flight arrival screens on your phone, and wait for your passenger to clear customs and collect luggage. Once they call from the kerb, it takes less than three minutes to drive over to the designated arrivals pickup lane.
Navigating airport road detours and construction works
Melbourne Airport regularly carries out civil roadworks and capacity expansion projects around Centre Road, Mercer Drive, and Sunbury Road. Electronic message boards indicate temporary lane shifts, roundabout alterations, and reduced speed zones (frequently dropping from 60 km/h to 40 km/h). Obey all posted construction signs and merge early to avoid last-minute lane cutting across fast-moving traffic.
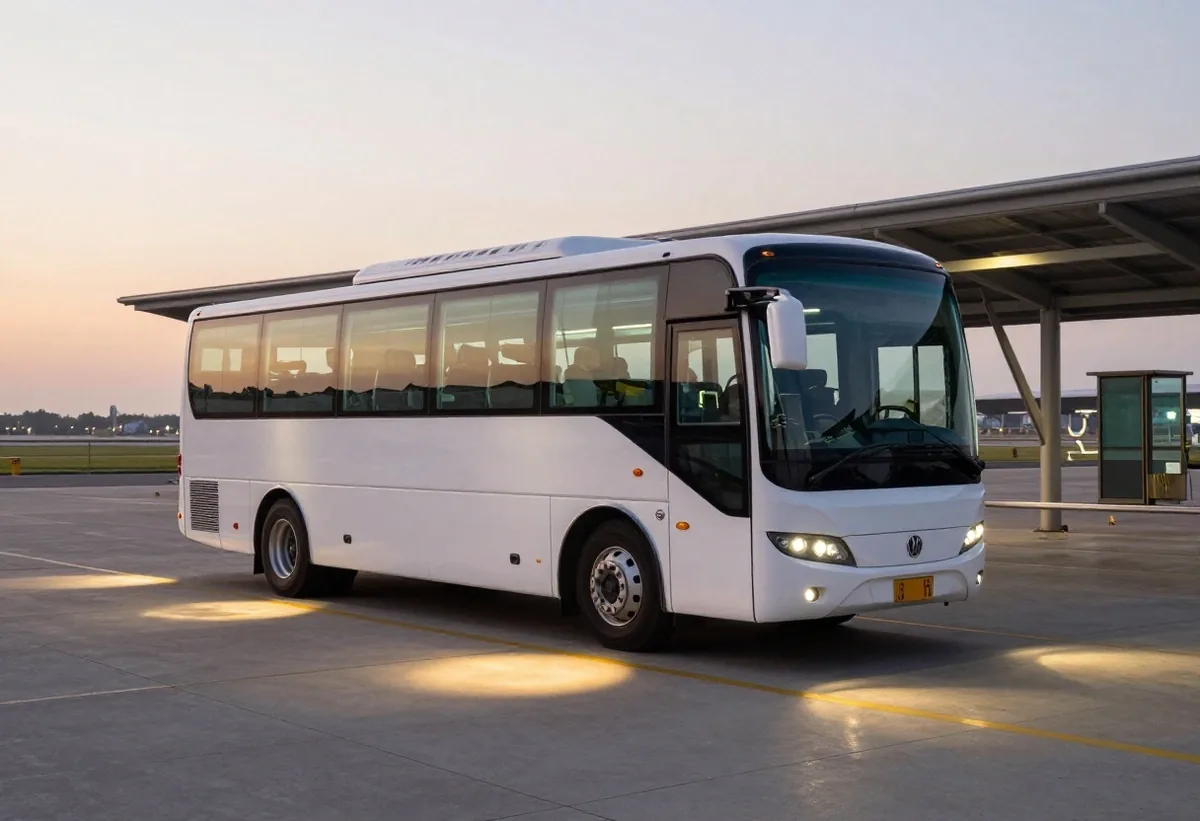
Operates 24 hours daily with service frequency every 10–12 minutes during peak hours and every 15 minutes overnight.
Shuttle bus stop locations across the precinct
For travellers parking in the Value Car Park, return shuttle buses operate from dedicated covered bus shelters at terminal frontages. When exiting Terminal 1 (Qantas), the shuttle bay is located on the outer kerb directly opposite the main doors. Passengers exiting Terminals 2 and 3 should walk south along the forecourt toward the central transport hub, where regular Mercer Drive shuttle buses stop continuously.
Terminal 1 (Domestic / Qantas)
Covered shelter located on the outer frontage roadway directly opposite Door 3. Departs every 10 minutes.
Terminals 2 & 3 (International & Virgin Australia)
Central transport shelter situated on the outer loop between T2 and T3 arrivals concourses.
Terminal 4 (Jetstar / Rex / Link)
Ground-level bus interchange situated directly adjacent to the T4 multi-deck pedestrian ramp.
Arrivals Drive & Access Coordinates
Melbourne Airport’s parking perimeter spans hundreds of hectares across Tullamarine. Setting your GPS directly to Arrivals Drive ensures smooth navigation to terminal multi-decks, while Mercer Drive handles direct routing to the Value compound and the passenger waiting lounge.
Physical Terminal Hub
Arrivals Drive, Melbourne Airport, VIC 3045, Australia
Airport Operations Inquiries
+61 3 9297 1600
General Inquiries & Independent Logistics
info@toolstool.com
Operational Window
Monday - Sunday: 24 Hours
Frequently Asked Questions
Key navigational details for drivers heading to parking facilities across Melbourne Airport.
What happens if I miss the Mercer Drive exit for the Value Car Park?
Follow Centre Road around the airport roundabout network, complete the loop, and follow the overhead signs back toward Mercer Drive North. There is no need to make illegal U-turns or reverse on freeway shoulders; the loop road automatically feeds back into the parking access network.
Is there a toll on the road into Melbourne Airport?
The airport grounds themselves do not charge road tolls, but using CityLink on the Tullamarine Freeway between central Melbourne and Bell Street incurs electronic toll charges. If you wish to travel toll-free, you can access the airport via the Western Ring Road (M80) or local northern arterial roads such as Mickleham Road and Melrose Drive.
How do I access Terminal 4 car park from the main freeway?
Follow the signs for Terminal 4 as you near the airport, branching off toward Airport Drive and Mercer Drive, which leads straight into the T4 multi-deck entrance. Keep right on the approach road to access the dedicated express entrance ramp for levels 1 through 6.
Compare parking bay rates before you drive to Tullamarine
Ensure smooth airport parking by selecting the correct parking zone in advance. Review full walking times, daily rate schedules, and clearance specifications for Terminal 1, 2, 3, and 4 multi-deck compounds.